Google Maps Javascript Api V3 Example Drawing Tools Library
Introduction
Google Maps is a map out service provided by Google that supports a wide variety of conformation settings. Adding Google Maps to your coating can bring home the bacon users with more discourse information than a street address Beaver State set of coordinates.
This tutorial aims at integrating the Google Maps API into your React components and enabling you to display maps happening your web site.
Prerequisites
To complete this teacher, you will involve:
- Knob.js installed locally, which you tin can do away following How to Install Node.js and Create a Section Development Environment.
- Conversance with the Oppose JavaScript framing.
- A Google Maps JavasScript API Important.
- This will require a Google chronicle, sign language into the Google Cloud Platform Console table, creating a hot design, and enabling the Google Maps JavasScript API for the protrude.
Note: To avoid the "For development purposes only" messages when using the Google Maps API, you will need to provide a sensible credit card and associate IT with a Billing account for the Google Becloud Project, but IT is not required for this instructor.
This tutorial was verified with Node v14.2.0, npm v6.14.5, react v16.13.1, and google-maps-react v.2.0.6.
Step 1 — Setting dormie a Respond Application
For this tutorial, you are going to utilise create-react-app for scaffolding a new Oppose app.
1st, run npx to use produce-respond-app in a terminal window:
- npx create-react-app react-googlemaps
And then, navigate to your new project directory:
cd oppose-googlemaps In front you tot up any code, let's install your dependencies with:
- npm set u google-maps-react@2.0.6
Note: Optionally, at this point you can remove unnecessary files and imports in your src directory. You will not require logo.svg, App.css, index.css. If you off power.css, you should as wel remove the import for index.css in index.html to avoid a build error.
At this point, you take a React application with the google-maps-respond subroutine library. You can now explore exploitation maps in your coating.
Step 2 — Exploitation Map and GoogleApiWrapper
Succeeding, you will need to edit your App.js file and replace the cypher with your component that will load a Google Map.
Open App.js:
- nano src/App.js
Replace the table of contents of App.js with the following lines of code:
src/App.js
signification React, { Component } from 'react'; import { Map, GoogleApiWrapper } from 'google-maps-react'; const mapStyles = { width: '100%', height: '100%' }; export class MapContainer extends Component { render() { return ( <Map google={this.props.google} rapid growth={14} style={mapStyles} initialCenter={ { latisimus dorsi: -1.2884, lng: 36.8233 } } /> ); } } export default GoogleApiWrapper({ apiKey: 'YOUR_GOOGLE_MAPS_API_KEY_GOES_HERE' })(MapContainer); Note: Replace YOUR_GOOGLE_MAPS_API_KEY_GOES_HERE with your Google Maps JavasScript API Key.
Warning: Be sure to avoid saving your API key in any files you institutionalise to public repositories (corresponding GitHub) as IT can past be used by others for purposes you did non designate.
For the functionality of a basic Google Map, this is all the code you deman.
The Map constituent takes in roughly optional props:
-
expressive style- the CSS style aim -
zoom- act prise representing a tighter revolve about the map's center -
initialCenter- an object containing latitude and longitude coordinates
In this representative, you are shaping:
- a CSS style object with
100%width and100%tiptop - a zoom value of
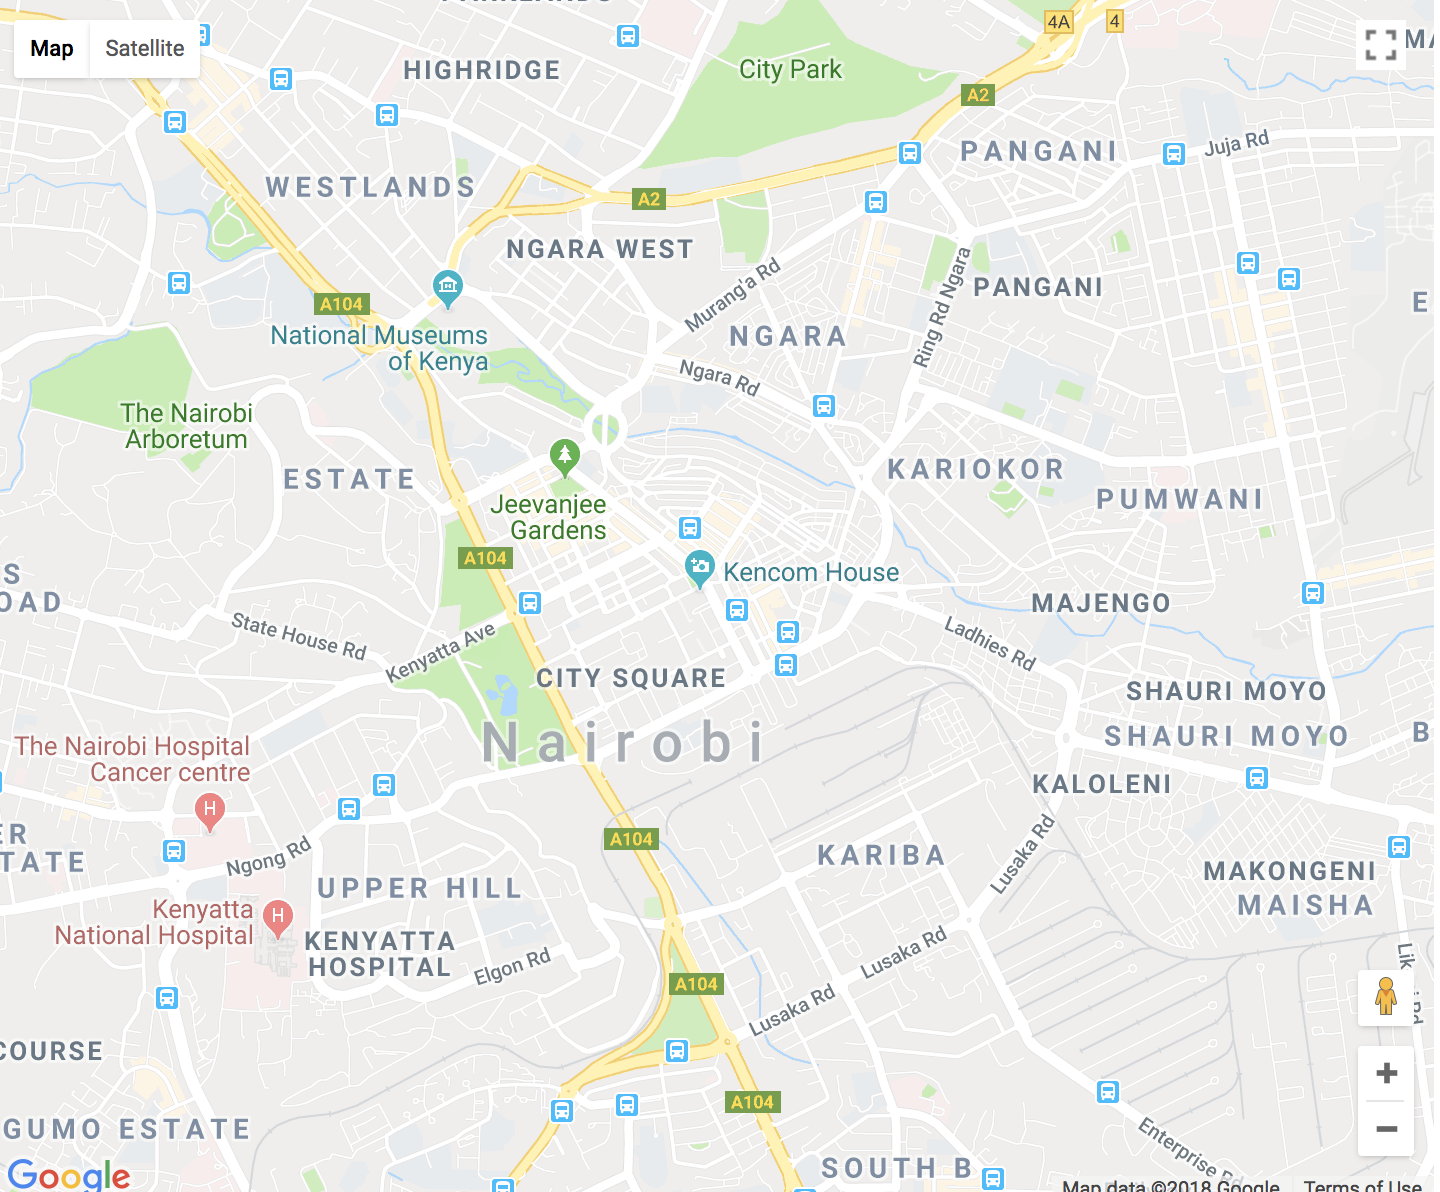
14 - and a location of
-1.2884, 36.8233(Kenyatta International Convention Centre in Nairobi, Kenya)
Open your terminal and run your app:
- npm start
And ensure that the map mountain to the browser:
The GoogleApiWrapper is a Higher-Order Component (HOC) that provides a wrapper around Google APIs. Alternatively, the GoogleApiWrapper HOC can embody configured by qualifying a function that bequeath be called with the covered component's props and should return the configuration object like thusly:
exportation nonremittal GoogleApiWrapper( (props) => ({ apiKey: props.apiKey } ))(MapContainer) At this point, you have a Google Represent in your React application. You can now explore implementing other features of Google Maps.
Step 3 — Using Markers and InfoWindow
You leave now add a Marker and an InfoWindow to your code.
First, you need to implication Mark and InfoWindow components from the google-maps-react subroutine library in order to avail you achieve loading of the two.
src/App.js
import React, { Component } from 'react'; import { Map, GoogleApiWrapper, InfoWindow, Mark } from 'Google-maps-react'; Notice that your component before was homeless? You will need to add Department of State for state direction.
src/App.js
// ... export socio-economic class MapContainer extends Component { state = { showingInfoWindow: false, // Hides or shows the InfoWindow activeMarker: {}, // Shows the operational marker upon clack selectedPlace: {} // Shows the InfoWindow to the selected place upon a marking }; // ... } Next, you will need to add event handlers for when the Map and the Marking are clicked.
src/App.js
// ... export class MapContainer extends Constituent { // ... onMarkerClick = (props, marker, e) => this.setState({ selectedPlace: props, activeMarker: mark, showingInfoWindow: true }); onClose = props => { if (this.state.showingInfoWindow) { this.setState({ showingInfoWindow: false, activeMarker: null }); } }; // ... } The onMarkerClick method acting is put-upon to show the InfoWindow, which is a component in the Google-maps-oppose subroutine library that gives you the power for a pop fly window showing details of the clicked Marker.
The onClose method is for closing the InfoWindow one time a user clicks happening the confining button along the InfoWindow.
Let's complete your component by adding <Marker> and <InfoWindow> components to the give method:
src/App.js
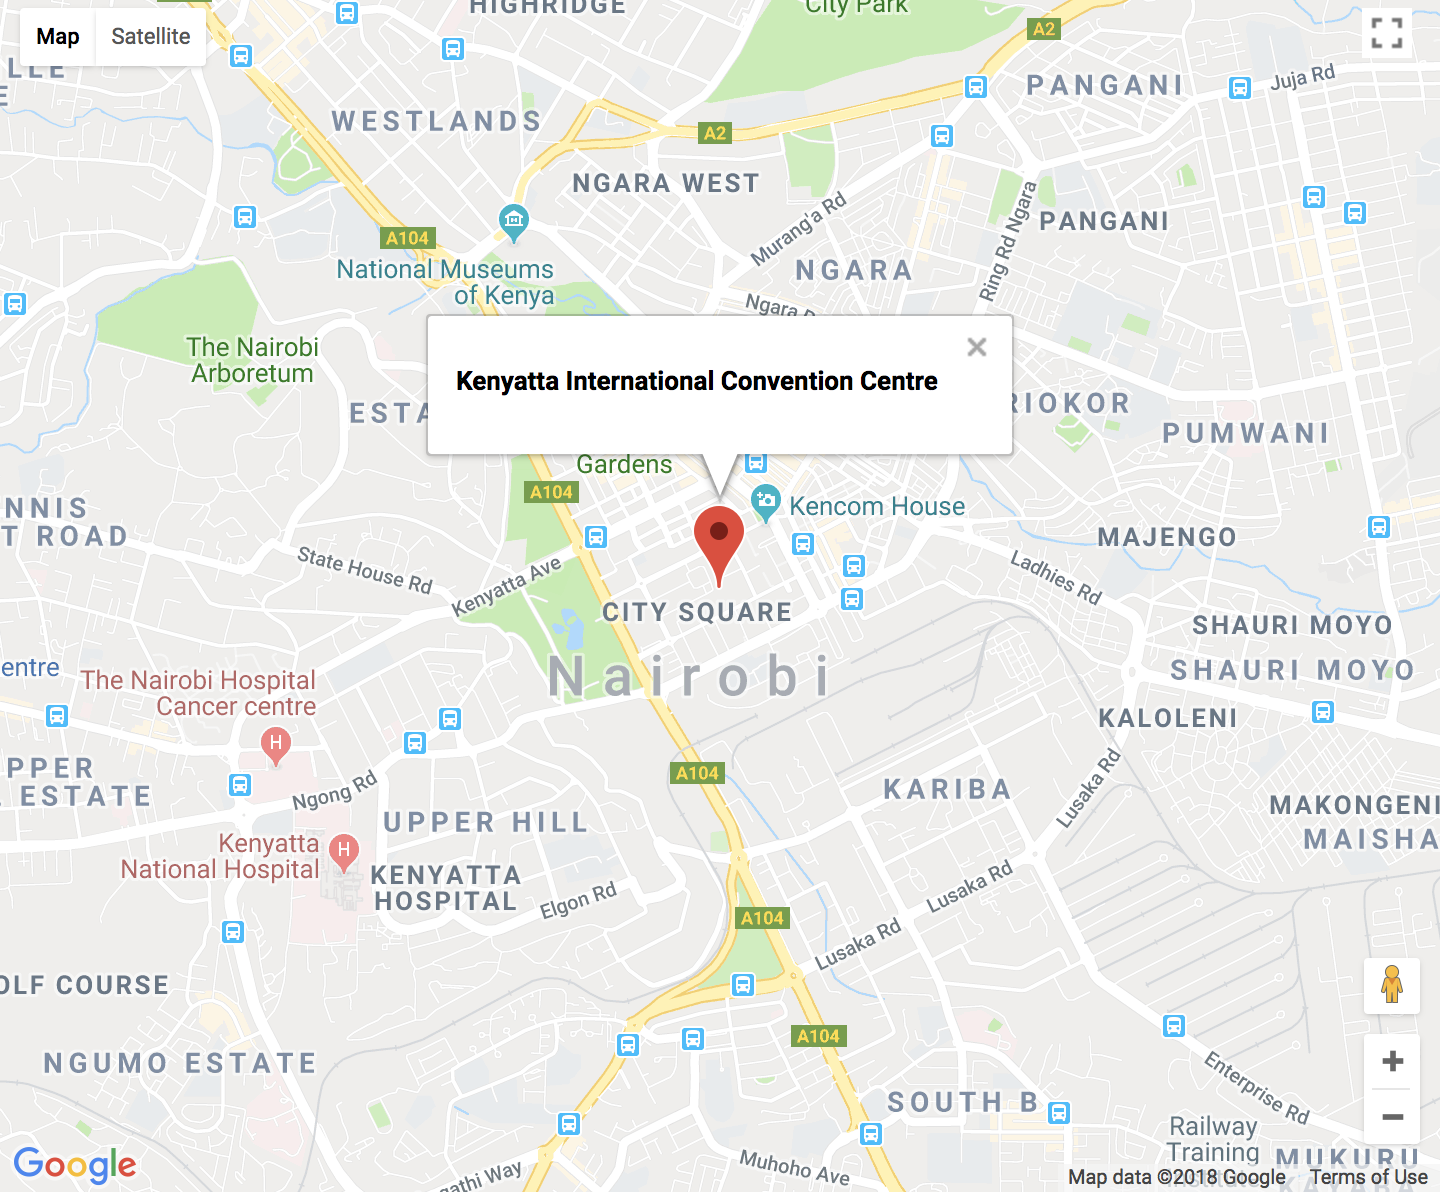
// ... export class MapContainer extends Component { // ... render() { return ( <Map google={this.props.google} rapid climb={14} way={mapStyles} initialCenter={ { lat: -1.2884, lng: 36.8233 } } > <Marker onClick={this.onMarkerClick} name={'Kenyatta International Convention Centre'} /> <InfoWindow mark={this.Department of State.activeMarker} overt={this.state.showingInfoWindow} onClose={this.onClose} > <div> <h4>{this.DoS.selectedPlace.name}</h4> </div> </InfoWindow> </Map> ); } } Run your app:
- npm start
And see you have the one Marker with the InfoWindow upon click:
As a follow-up practice, you can go and add a few more <Marking>s on your <Mapping> and more interactivity to your <InfoWindow>.
Footfall 4 — Displaying the User's Current Location
You will now set aweigh your correspondenc to retrieve the browser's latest location. You will be exploitation Sailing master, which is a show-only property that returns a Geolocation object that gives net content access to the emplacemen of the device.
In your src directory make a new file and name information technology Map.js:
- nano src/Map.js
You will create a component named CurrentLocation — this is where you testament build wholly the functionality to retrieve your browser's locating:
src/Map.js
import React from 'react'; import ReactDOM from 'react-dom'; const mapStyles = { map: { position: 'absolute', width: '100%', height: '100%' } }; export division CurrentLocation extends Oppose.Component { // ... } export default CurrentLocation; You will begin by adding some nonpayment props to your <CurrentLocation> component, since you will need to set the map with a concentrate on in case the current location is not provided. This is handled by the mathematician prop centerAroundCurrentLocation:
src/Map.js
// ... CurrentLocation.defaultProps = { surg: 14, initialCenter: { lat: -1.2884, lng: 36.8233 }, centerAroundCurrentLocation: false, visible: true }; Following, you will need to make your component stateful:
src/Map.js
// ... exportation class CurrentLocation extends Oppose.Component { constructor(props) { topnotch(props); const { lat, lng } = this.props.initialCenter; this.res publica = { currentLocation: { lat: lat, lng: lng } }; } } // ... Lashkar-e-Toiba's also update your <CurrentLocation> component to handle for scenarios when the Google Maps API is not available imputable network issues or unexpected sustentation. And likewise handle situations when the browser's up-to-date location is provided and recenter the map to it location.
src/Map out.js
// ... export grade CurrentLocation extends React.Component { // ... componentDidUpdate(prevProps, prevState) { if (prevProps.Google !== this.props.google) { this.loadMap(); } if (prevState.currentLocation !== this.country.currentLocation) { this.recenterMap(); } } } // ... Let's define the recenterMap() officiate which gets called when the currentLocation in the constituent's say is updated. IT will use the panTo() method to alter the center of the map.
src/Map.js
// ... export class CurrentLocation extends React.Component { // ... recenterMap() { const map = this.map; const current = this.body politic.currentLocation; const google = this.props.google; const maps = google.maps; if (represent) { let center = current maps.LatLng(live.lat, underway.lng); map.panTo(center); } } } // ... Adjacent, you will need to do by the scenario when the mapping has already loaded. This will be handled by the componentDidMount() lifecycle method acting which wish set a recall to bring the current locating.
src/Map.js
// ... export class CurrentLocation extends React.Component { // ... componentDidMount() { if (this.props.centerAroundCurrentLocation) { if (navigator && navigator.geolocation) { navigator.geolocation.getCurrentPosition(pos => { const coords = pos.coords; this.setState({ currentLocation: { lat: coords.latitude, lng: coords.longitude } }); }); } } this.loadMap(); } } // ... Observation the loadMap() function? Let's break on ahead and define information technology.
src/Map out.js
// ... export class CurrentLocation extends Respond.Component { // ... loadMap() { if (this.props && this.props.google) { // checks if google is available const { google } = this.props; const maps = google.maps; const mapRef = this.refs.map; // reference to the actual DOM element const node = ReactDOM.findDOMNode(mapRef); allow { rapid growth } = this.props; const { lat, lng } = this.say.currentLocation; const center = new maps.LatLng(lat, lng); const mapConfig = Object.assign( {}, { center: center, soar upwards: soar } ); // maps.Map() is constructor that instantiates the map this.map = new maps.Map(node, mapConfig); } } } // ... The loadMap() function is called afterward the component has been rendered and grabs a reference to the DOM component to where you want your map to be settled.
Your <CurrentLocation> component is almost realised. But you need to ensure that your previous <Marker> picks your current location (i.e., the browser's on-line fix) and so you need to introduce Parent-Nestling component communication through the renderChildren() method which will be accountable for calling the method along the fry component.
src/Map.js
// ... export class CurrentLocation extends Oppose.Component { // ... renderChildren() { const { children } = this.props; if (!children) return; return React.Children.map(children, c => { if (!c) return; return React.cloneElement(c, { map out: this.map, Google: this.props.Google, mapCenter: this.state.currentLocation }); }); } } // ... And finally, let's attention deficit hyperactivity disorder your render() method:
src/Map.js
// ... export class CurrentLocation extends Oppose.Constituent { // ... render() { const style = Object.assign({}, mapStyles.represent); come back ( <div> <div style={style} ref="map"> Shipment map... </div> {this.renderChildren()} </div> ); } } // ... Lastly, you will need to update your MapContainer factor in App.js:
- nano src/App.js
Substitute the Map component with your new CurrentLocation component:
src/App.js
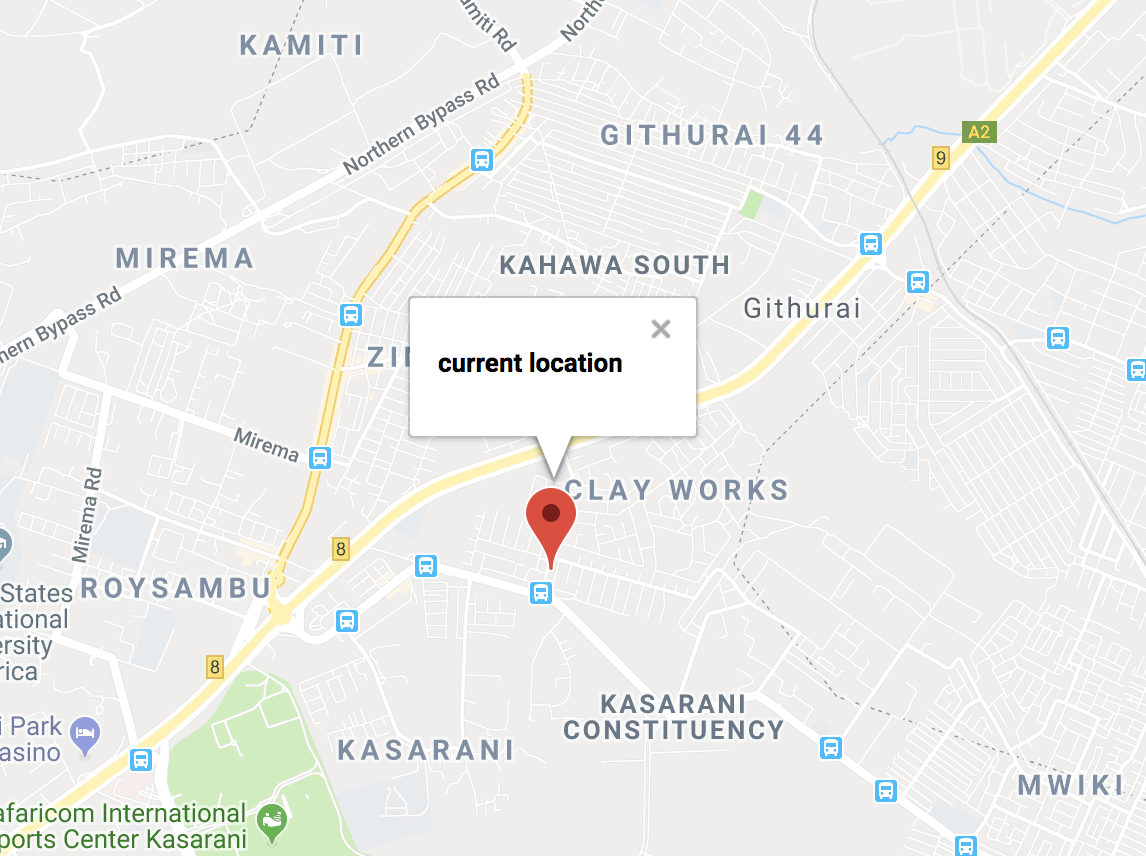
import React, { Component } from 'oppose'; significance { GoogleApiWrapper, InfoWindow, Marker } from 'google-maps-oppose'; import CurrentLocation from './Mapping'; exportation class MapContainer extends Component { posit = { showingInfoWindow: false, activeMarker: {}, selectedPlace: {} }; onMarkerClick = (props, marker, e) => this.setState({ selectedPlace: props, activeMarker: mark, showingInfoWindow: true }); onClose = props => { if (this.say.showingInfoWindow) { this.setState({ showingInfoWindow: false, activeMarker: null }); } }; render() { return ( <CurrentLocation centerAroundCurrentLocation Google={this.props.google} > <Mark onClick={this.onMarkerClick} name={'Circulating Location'} /> <InfoWindow marker={this.state.activeMarker} visible={this.state.showingInfoWindow} onClose={this.onClose} > <div> <h4>{this.state.selectedPlace.name}</h4> </div> </InfoWindow> </CurrentLocation> ); } } export default GoogleApiWrapper({ apiKey: 'YOUR_GOOGLE_MAPS_API_KEY_GOES_HERE' })(MapContainer); Run your app:
npm start Heading over to your browser, your map should first load with your initialCenter past reload to pick your browser's underway positioning with the Marker positioned to this location, and voilà, you are done:
Ratiocination
In this article, you were able to load your <Map> React component, add a Marker, and associate an InfoWindow to information technology. You also ready-made the correspondenc video display your current location.
Construction upon this knowledge, you can implement Thomas More high features such as having polylines and polygons Beaver State adding event listeners into your maps.
If you'd comparable to learn more about React, get a load at our How To Code in React.js serial publication, operating room check out our React subject Thomas Nelson Page for exercises and programming projects.
Google Maps Javascript Api V3 Example Drawing Tools Library
Source: https://www.digitalocean.com/community/tutorials/how-to-integrate-the-google-maps-api-into-react-applications
0 Response to "Google Maps Javascript Api V3 Example Drawing Tools Library"
Post a Comment